



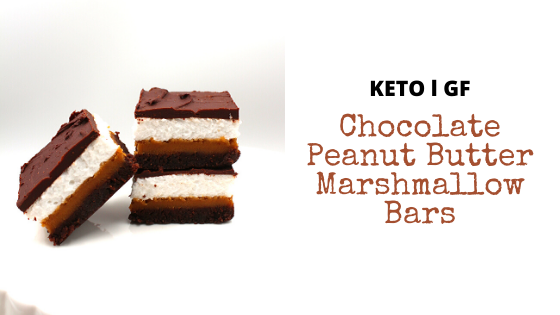
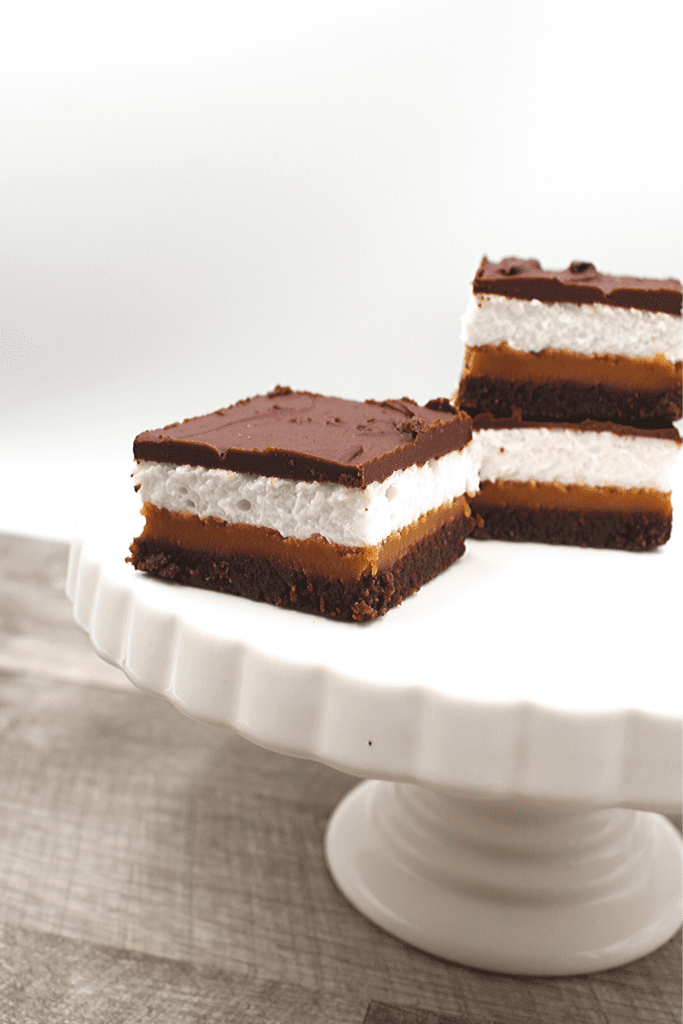
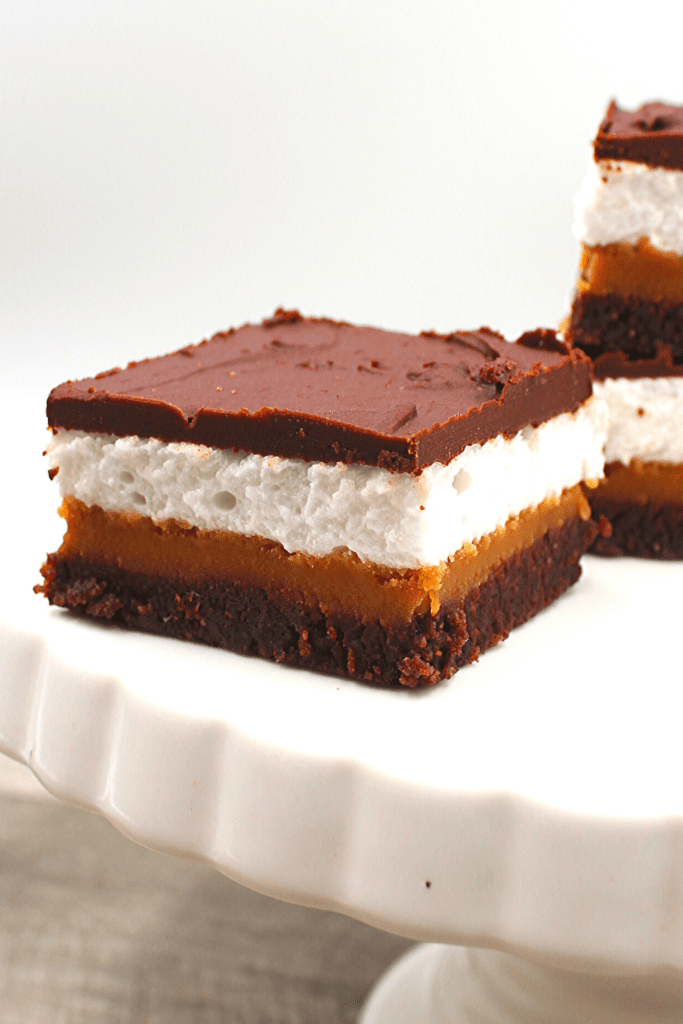
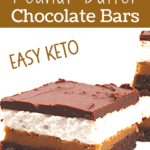
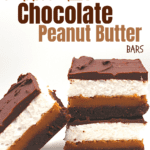
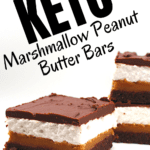
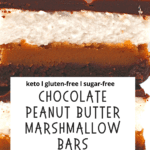
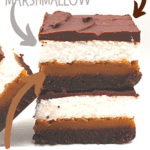
These gluten-free and keto Chocolate Peanut Butter Marshmallow Fudge Bars are such a sinfully indulgent treat. A crunchy chocolate base is topped with a smooth peanut butter fudge and then layered with a thin marshmallow layer covered in chocolate. If that doesn't scream "DELICIOUS" then I don't know what does!
These bars were inspired by my niece's birthday.
Unlike her mother (my sister) who is more of a mint and vanilla type of girl, my niece has somehow gotten my genetic predisposition to loving all things categorized as either chocolate, peanut butter and caramel flavoured or any combination of the above.
And therefore these bars were created with her in mind.
By simply using the crunchy chocolate layer from my Cappucino Bars, the rich and indulgent fudge from my easy 2-ingredient Peanut Butter Fudge recipe, a light and airy that I found in an old cookbook my Mum had given me, topping them with a thick layer of chocolate (I used my recipe from my Peanut Caramel Bars), these indulgent treats were really simple to make.

What makes these Chocolate Peanut Butter Fudge Bars the absolute best?
- SUPER easy to make (I kid you not so PLEASE do not be intimidated with all the layers)
- salty and sweet flavours combined in just the right proportions
- limited ingredients
- limited dishes (that's a big one for me!)
- can be made in stages
- can be frozen and taste just as good
What ingredients do you need to make these amazing bars?
For the crunchy chocolate base:
- almond flour
- unsweetened cocoa powder
- butter
- egg whites
- sweetener (I used Lakanto Classic)
For the peanut fudge layer:
- can of full-fat coconut milk (that has been in the fridge)
- peanut butter
- sweetener (I used Lakanto Classic)
For the marshmallow topping:
- unflavoured gelatin
- water
- allulose
For the Chocolate Topping:
- chocolate chips
- coconut milk
If you look at the ingredient list, these bars only require a handful of ingredients and can be made in under 30 minutes.
What type of sweeteners can I use?
For the crunchy chocolate base and the peanut butter layer, any type of sweetener will work. I use Lakanto Classic which is erythritol based.
However, as for the marshmallow topping, the only sweetener that will work is Allulose.
What is Allulose?
- also known as D-psicose, is technically classified as a rare sugar because it can naturally be found in just a few foods, such as kiwi, raisins and figs.
- chemically, it's similar to fructose, the type of natural sugar found in fruit.
- however, unlike fructose or other types of sugar, your body doesn’t process it the same way and therefore has no effect on blood sugar
- it is virtually calorie-free
- it has around 70% of the sweetness of regular table sugar whereas stevia is about 200 times sweeter than table sugar
- therefore, if you want to replace sugar with allulose, remember that for every 1 cup of sugar, you will use 1 ⅓ cup of allulose
- unlike other keto and low carb sweeteners, allulose does not crystalize when it cools making it great for certain desserts such as custards, pudding and marshmallows
Why does the canned coconut milk have to refrigerated first?
When full-fat coconut milk is cooled, the liquid separates from the thick cream layer. This makes dividing the cream from the can easier to do.
Since we only need to creamy part of the can of coconut, place the can in the fridge overnight. Pull the can out of the fridge when you decide you want to make this dessert. The cream will be easier to get out of the can if it has had time to slightly warm.
How do you make these keto and gluten-free Chocolate Peanut Butter Fudge Bars?
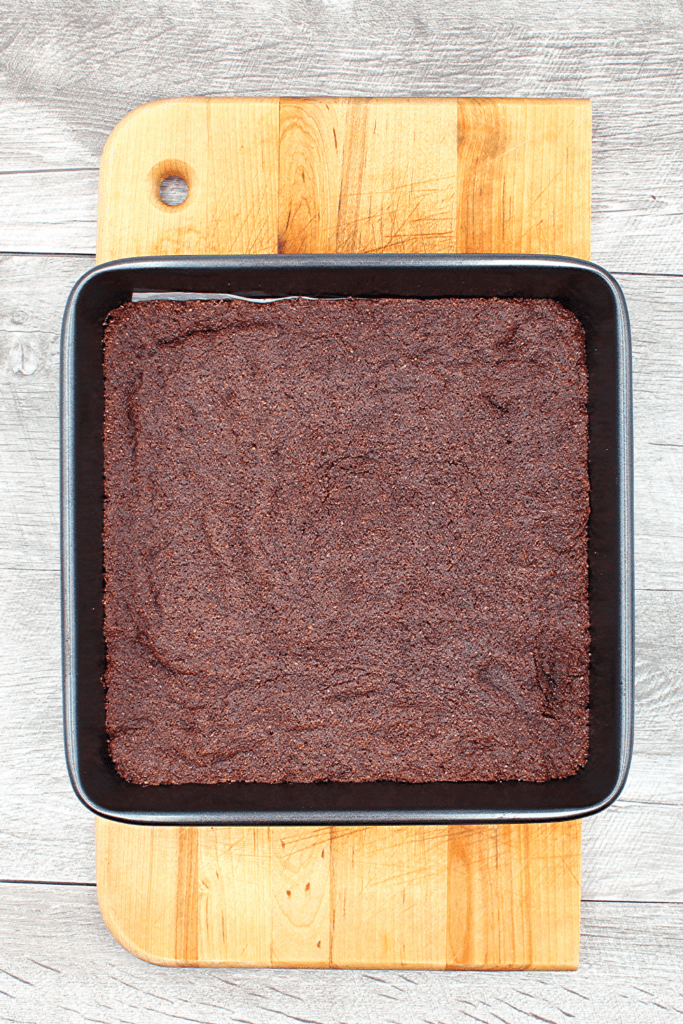
To make the crunchy Chocolate base:
- line an 8 x 8 pan with parchment paper
- Add all the ingredients for the chocolate base in a bowl and stir to combine
- Press the chocolate mixture into the bottom of the baking pan
- Bake for 10 minutes
- Remove from the oven and allow to cool
To make the Peanut Butter Fudge Layer:
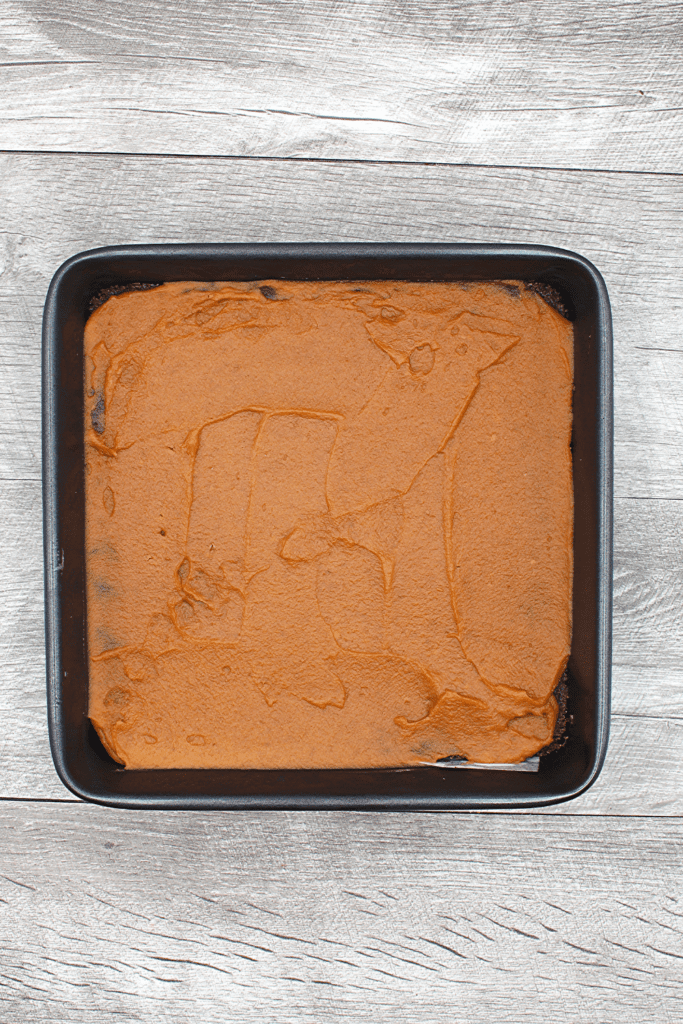
- Remove the coconut cream from the can and place it in a microwave-safe bowl.
- Add in the peanut butter, sweetener, salt and vanilla and microwave the mixture for about 30 seconds
- Stir it all together and spread it over the crunchy chocolate base
- Set the pan in the fridge to cool while you prepare the marshmallow layer
To make the Marshmallow Layer:
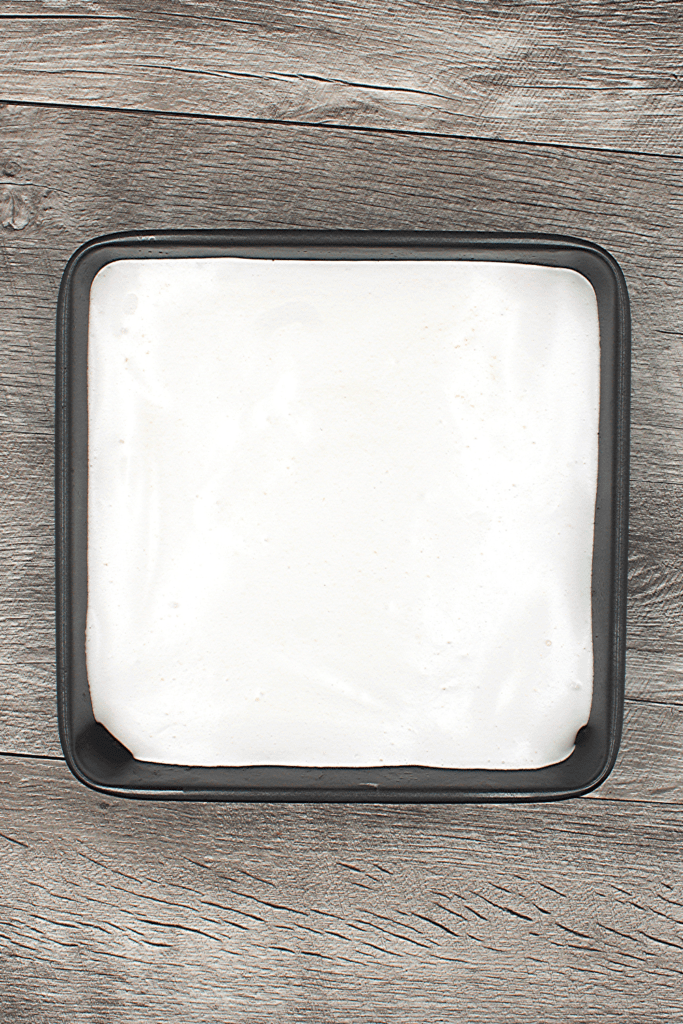
- In the bowl of a stand mixer, add ¼ cup of water. Sprinkle 2 tablespoon of gelatin over the water and set it aside
- In a large glass measuring cup, add the remaining ¼ cup of water, 1 cup of allulose and ¼ teaspoon of salt.
- Place in the microwave for 1 minute. Remove and stir
- Continue to microwave for an additional minute or until mixture boils for at least 20 seconds
- Turn the stand mixer on low to mix the gelatin into the water
- Carefully pour the hot water/allulose mixture into the bowl, allowing it to pour down the sides of the bowl.
- Beat on high for 10 minutes, adding in the vanilla right before turning off the mixer
- Remove the bars from the fridge and carefully spread the marshmallow topping over the peanut butter fudge
- Place the bars back in the fridge for 2 hours until or until the top begins to solidify
To make the chocolate coating:
- In a microwave-safe bowl, combine half the chocolate bar and all of the coconut oil
- Microwave on high for 30-second intervals until they begin to melt
- Stir the mixture and add the remaining chocolate chips
- Stir vigorously to bring the chocolate temperature down quickly (this is called tempering chocolate)
- Spread the mixture over the marshmallow layer and place everything in the fridge to solidify
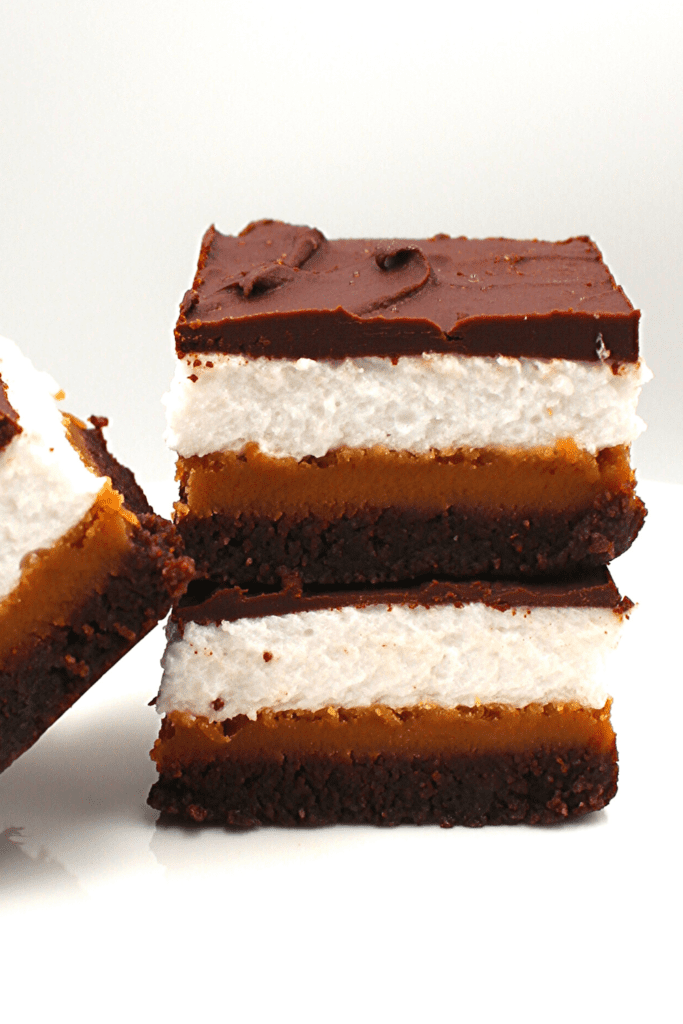
How do you cut these Chocolate Peanut Butter Fudge Bars without the chocolate layer cracking?
The trick to cutting any bars, tarts or pies with a thick top chocolate coating is to use a serrated knife and use a sawing motion.
If you try to "slice" the bars, the direct downward pressure from the knife will cause the chocolate to crack.
How should you store these Keto and Gluten-free Chocolate Peanut Butter Marshmallow Bars?
I like to store these bars in the fridge and when I want a quick bite, I simply take one out about 10 minutes before I want to indulge.
Due to the peanut butter fudge being made with coconut milk, you can not leave the bars on the counter as the fudge will melt.
You can also store these bars in the freezer and place them in the fridge or counter to warm. Do not place them in the microwave as the various layers will not defrost uniformly.
If you store them in the fridge, they can last for a good 7 days. If you keep them in the freezer, they could probably last up to 3 months (but I don't know for sure as they have never lasted that long for Mr. Grumbles and I!)

Tips, Tricks and Substitutions
- use regular sugar instead of sweetener
- if you don't want to make your own marshmallow layer, you can simply melt some marshmallows in the microwave and spread the mixture over the fudge
- these bars can be made over the course of several days if you chose to do so
- you can eliminate the marshmallow layer altogether (but they are sooooo easy to make I highly suggest you try!)
- if you can't find allulose, use this marshmallow recipe by Bless Her Heart which is gluten-free but not sugar-free

If you like these keto and gluten-free Chocolate Peanut Butter Marshmallow Bars, you may also enjoy:
- Easy Keto Strawberry Shortbread Bars
- Lemon Curd Custard Bars
- Chocolate Covered Peanut Brittle Bars (Keto, Gluten-Free)
- Cookie Dough Cheesecake Bars
- Pumpkin Chiffon Cheesecake Bars (Gluten-Free, Keto, Easy)

Keto and Gluten-free Chocolate Peanut Butter Fudge bars with a Marshmallow Topping
These gluten-free and keto Chocolate Peanut Butter Fudge Bars are such a sinfully indulgent treat. A crunchy chocolate base is topped with a smooth peanut butter fudge and then layered with a thin marshmallow layer covered in chocolate. If that doesn't scream "DELICIOUS" then I don't know what does!
- Total Time: 25 minutes
- Yield: 16 bars 1x
Ingredients
For the Chocolate Crust:
- 2 cups almond flour
- ⅓ cup butter, melted
- ½ cup Lakanto Classic (or other sweeteners of choice)
- ⅛ cup cocoa powder, unsweetened
- 1 tbsp instant espresso granules (OPTIONAL)
- ¼ cup liquid egg whites
For the Peanut Butter Fudge
- 13.5 oz canned coconut cream, organic, placed in the fridge overnight
- 1 cup peanut butter
- 2 tbsp liquid sweetener (I used Lakanto Sugar-Free Maple Syrup)
- 1 tsp vanilla
For the Marshmallow layer:
- ½ cup of water
- 2 envelopes of unflavored gelatin (2 Tbsp)
- 1 cup of allulose
- ½ tsp salt
- 1 tbsp vanilla
For the Chocolate Coating:
- ½ cup Lily's Chocolate Chips
- 2 tbsp heavy cream
Instructions
For the crust:
- Preheat oven to 350. Line a 9 x 9 (or 8 x 8) square pan with parchment paper.
- In a medium bowl, combine crust ingredients and mix well. Press mixture into the bottom of the baking pan and place in oven for 10-15 minutes or until just starting to brown. Remove from oven and let cool completely.
For the Peanut Butter Fudge:
- Refrigerate the coconut cream overnight to allow for the liquid to separate.
- Remove liquid from coconut cream and set aside for later use. Place coconut cream and peanut butter in a microwavable dish. Microwave for 30 seconds or until coconut cream begins to melt.
- Once peanut butter and cream have been thoroughly combined, add vanilla and liquid sweetener. Add salt if necessary.
- Pour peanut coconut mixture over the chocolate crust. Gently tap pan to level fudge. Place fudge in the freezer to cool
For the Marshmallow Cream Layer
- In a stand mixer, add ¼ cup of water and spinkle the gelatin powder over the water. Let is sit.
- In a large glass measuring cup, add ¼ cup of water, 1 cup allulose and salt. Stir to combine. Place in microwave for 1 minute and then stir. Add an additional minute or until mixture begins to boil. Once it boils, remove the mixture and stir. Place it back in the microwave for an additional 1 minute.
- Turn the mixer on low to stir the gelatin. Keeping the mixer on low, carefully pour the allulose down the sides of the bowl. Once all the allulose is in the mixer bowl, turn on high and beat for an additional 10 minutes. Add in vanilla and mix for 1 more minute.
- Pour the marshmallow over the fudge and spread it out evenly. Place the dish in the fridge in order for the marshmallow to firm.
For the Chocolate coating:
- In a glass bowl, add chocolate chips and place them in the microwave for 30 seconds. Add cream and heat again for 30 seconds or until chocolate chips are starting to melt. Stir the mixture until the chocolate has fully melted and pour the mixture over the marshmallow layer.
- Place the bars in the fridge to set before slicing (about 1- 2 hours).
Notes
- To cut the bars, score the chocolate layer about 30 minutes after placing the bars in the fridge
- Prep Time: 10 minutes
- Cook Time: 15 minutes
- Category: Snacks, Desserts
- Cuisine: Keto, Low Carb, Gluten Free
Nutrition
- Serving Size: 1 bar
- Calories: 302
- Sugar: 4.2 g
- Fat: 27.1 g
- Carbohydrates: 6.5 g
- Fiber: 2.3 g
- Protein: 10.2 g

Cat says
Thanks for taking the time to commet! I will keep the vegan gelatin information in future when I blog any recipe with gelatin and let others know!
Becca says
After an overnight chill in the fridge my coconut cream hadn't separated as much as I'm otherwise used to. But it was time to make the dessert. I ended up using most of the can and just slow cooking the mix down until it thickened up significantly, and added swerve confectioners to texturize. It doesn't look quite like yours, but it worked well enough. Texture is probably a tad softer than the fudge would have been, but the taste is still great and with the bars chilling in the fridge anyway it all works out swimmingly.
Secondary note, I initially mistakenly bought vegan gelatin and tried cooking with it. It simply wasn't working and then i checked what I had used and sure enough... so note to anyone else, vegan gelatin isn't a suitable 1:1 substitute though you certainly can find recipes to use it that can be subbed in this layer.
Cat says
Aren't they awesome?!! Thanks for commenting.
Anonymous says
This was much easier than I thought and they turned out looking just like the pictures. SO GOOD!