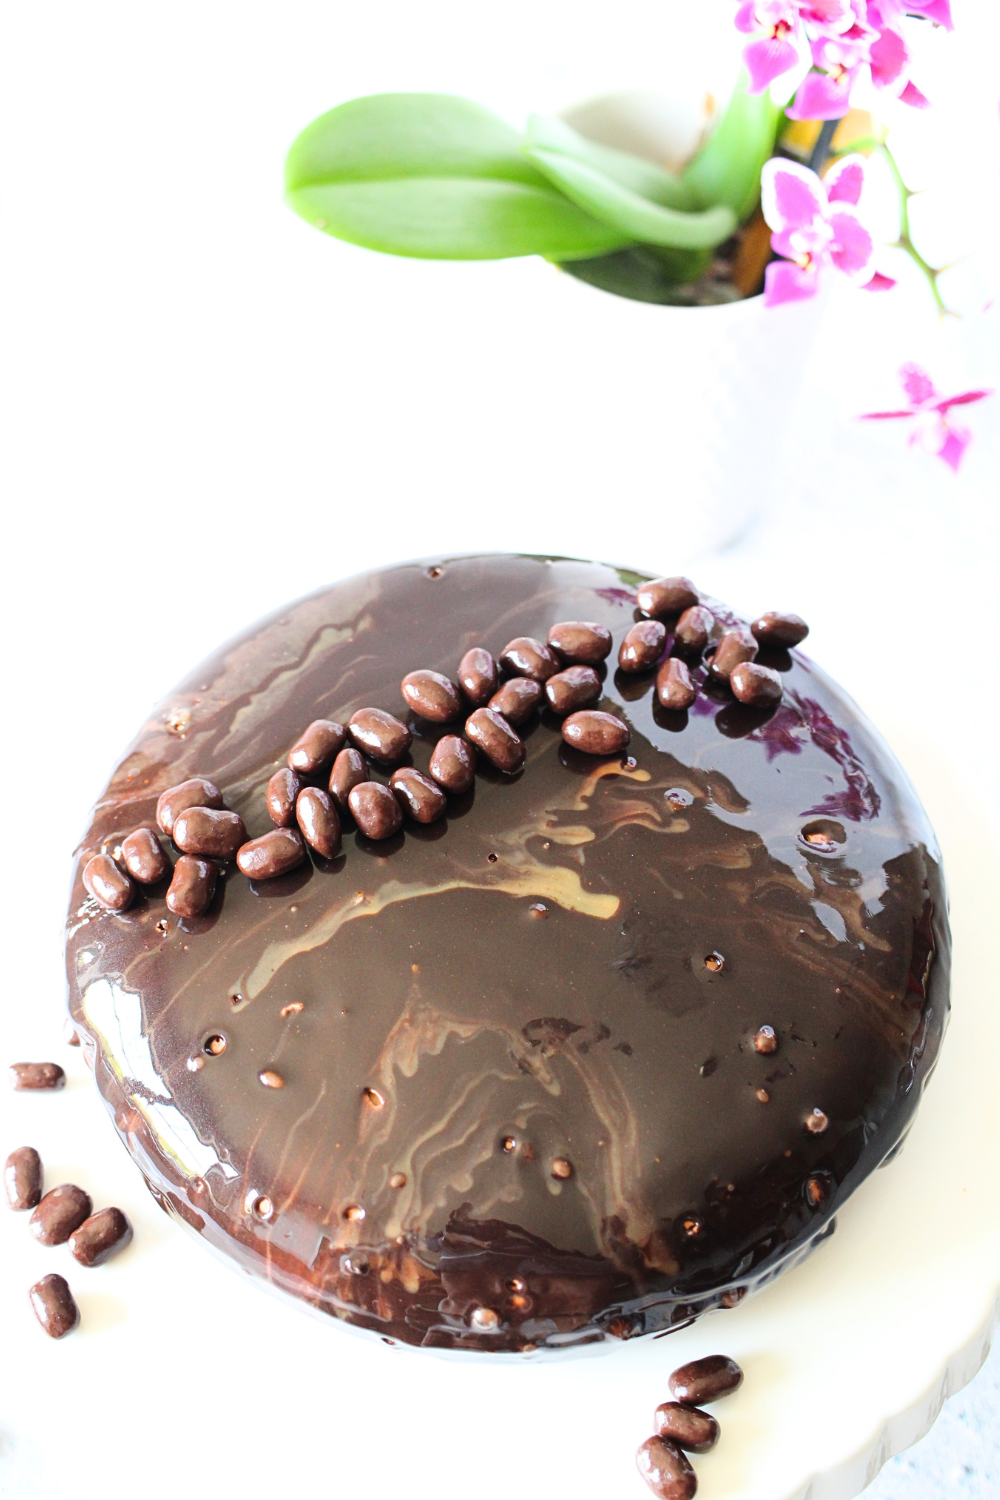
This Keto Chocolate Mirror Glaze is the ultimate way to turn even the most basic keto dessert into something that looks like it came straight out of a pastry chef’s kitchen. The glossy shine, the deep chocolate colour, the way it drips down the side of a mousse cake—every part of it screams professional, yet the truth is wonderfully simple: it’s shockingly easy. Even if you’ve never decorated a cake before (trust me, I’ve been there), this glaze will make you feel like you’ve unlocked a secret baking superpower.

My Keto Cake Decorating Confession (and New Obsession)
Let me paint a picture for you: I have always been the person who loves baking but has zero patience or talent for decorating. Piping intricate borders? Not happening. Perfectly smoothing frosting? Sure… in theory. Making rosettes? Only if you enjoy rosettes that look like they melted under a heat lamp.
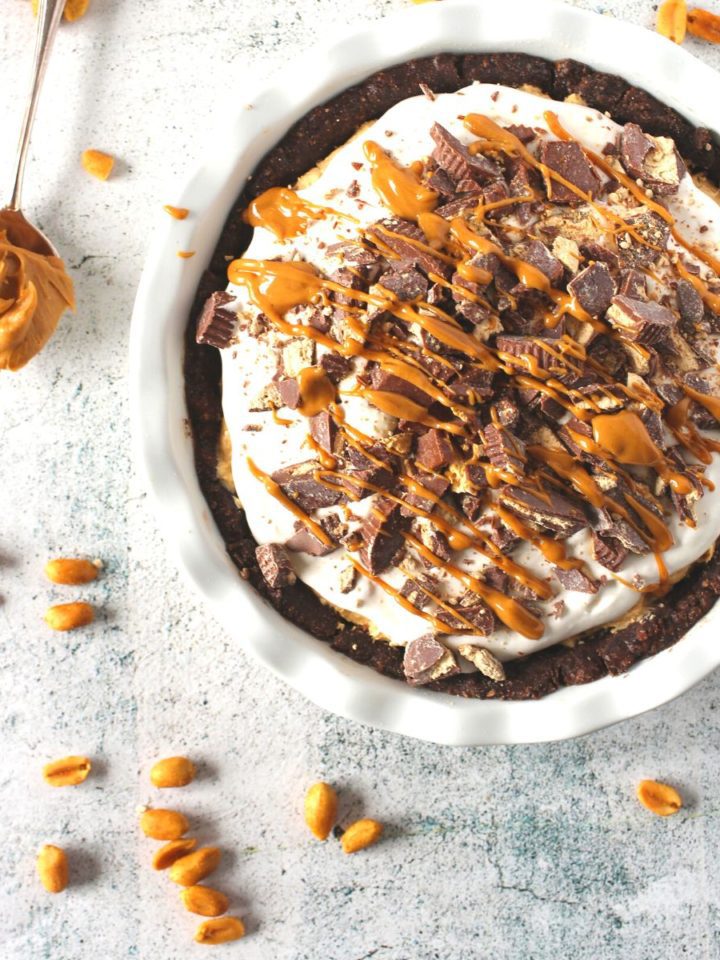
For years, I convinced myself that anything beyond a simple sheet cake or a naked layered cake (like this Easy Keto Chocolate Cake with Peanut Butter Frosting) was out of my league.
If a recipe required precision or special tools, I’d back away quietly and pretend I wasn't interested. But inside, I always admired those sleek, shiny cakes—the kind you see in fancy bakeries or on those mesmerizing pastry videos that trap you in a scrolling loop at midnight.
Then I discovered mirror glaze. Keto mirror glaze.
And that changed everything.
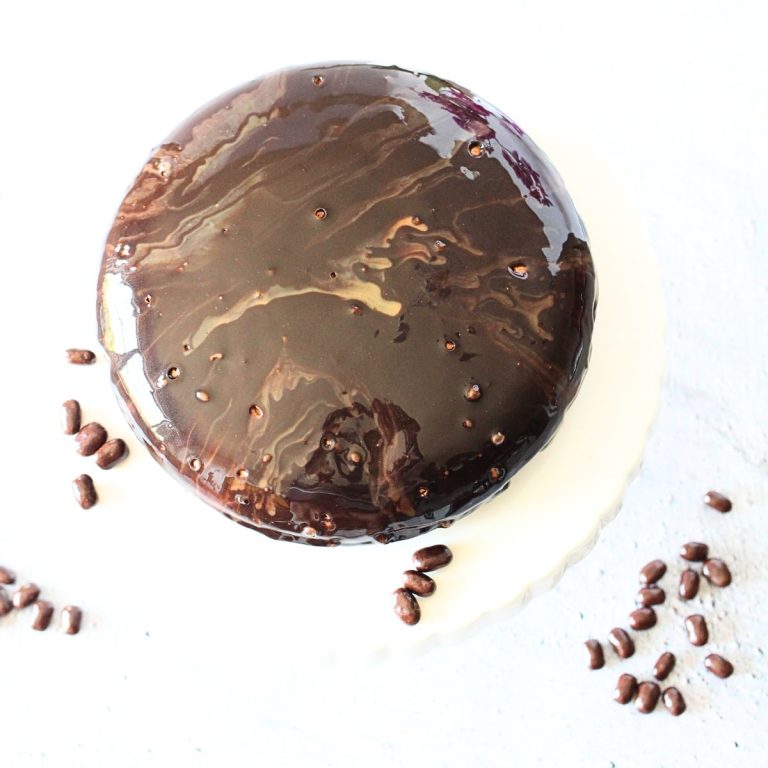
What hooked me first was the look: impossibly glossy, like the surface of still water reflecting the sky. It looked like something you’d need a culinary degree to pull off. But the first time I made it—expecting a total disaster—I was stunned at how ridiculously easy it is. No special skills. No fancy equipment beyond an immersion blender. No decorating stress.
Just a simple mixture of gelatin, sweetener, cocoa, cream, and heat… and suddenly, I had a cake that looked like something served in a Michelin-star restaurant.
And the best part? It’s keto, sugar-free, and deeply chocolatey.
Now I’m hooked. Truly hooked. If you’ve never tried making a keto mirror glaze, prepare to feel the same way.

Ingredients for Keto Chocolate Mirror Glaze
You don’t need many ingredients for this recipe, but the quality and type of each ingredient matter. Here’s what goes into making this luxurious keto glaze:
Gelatin (Powdered or sheets)
The original recipe uses gelatin sheets, but here in the U.S., powdered gelatin is much more common.
Five gelatin sheets = about 10–12 grams of powdered gelatin (roughly 1 tablespoon + 1 teaspoon).
Gelatin is what allows the mirror glaze to set into that shiny, perfectly smooth coating. It gives structure and stability without adding carbs.
Heavy Cream
This adds richness and creaminess, giving the glaze its luscious, velvety texture. Heavy cream also helps smooth out the cocoa and adds a subtle, glossy sheen once it sets.
Allulose
This sweetener is the quiet hero of the recipe. Allulose is hands-down the best choice for mirror glaze because:
- It dissolves completely and stays smooth
- It doesn’t crystallize when chilled
- It gives the glaze the perfect glossy finish
Using erythritol or other keto sweeteners would lead to a grainy texture or a finish that loses its shine—so allulose is essential here.
Unsweetened Cocoa Powder
This is where the magic of colour and flavour comes in. I used two types of cocoa to achieve layered shades of chocolate:
- Black cocoa for deep, dramatic, almost black mirror glaze
- Regular Dutch-processed cocoa for a classic chocolate shine
By making two small batches and alternating pours, you can create an artistic two-tone effect without any added food colouring.
How to Make Mirror Glaze Step-by-Step
These steps may look long when written out, but when you actually do it, the process is unbelievably easy.
1. Bloom the gelatin
- Sprinkle the powdered gelatin over the cold water and let it bloom for 5 minutes - Blooming ensures the gelatin melts smoothly into the glaze.
2. Sift the cocoa powder
- Place a fine mesh sieve over a bowl and sift your cocoa powder.
- This removes any clumps and helps ensure the glaze stays silky.
- If making two colours, sift each cocoa type (Black and Dutch) into separate bowls.
3. Heat the liquid base
- In a small microwave glass measuring cup, stir together the heavy cream and allulose—microwave for 30 seconds or until it just begins to bubble.
4. Add the gelatin
- Scoop the bloomed gelatin into the pot and stir until completely dissolved.
5. Combine with cocoa
- Hold your bowl at a slight angle.
- Pour the hot liquid down the side of the bowl—not directly onto the cocoa—to help prevent air bubbles.
- Use a spatula to gently mix until the cocoa and cream mixture becomes cohesive.
6. Blend until smooth
- Use an immersion blender, holding it at a slight angle, and blend the mixture until it is silky smooth.
- Try to keep the blender head submerged to avoid creating bubbles.
7. Strain the mixture
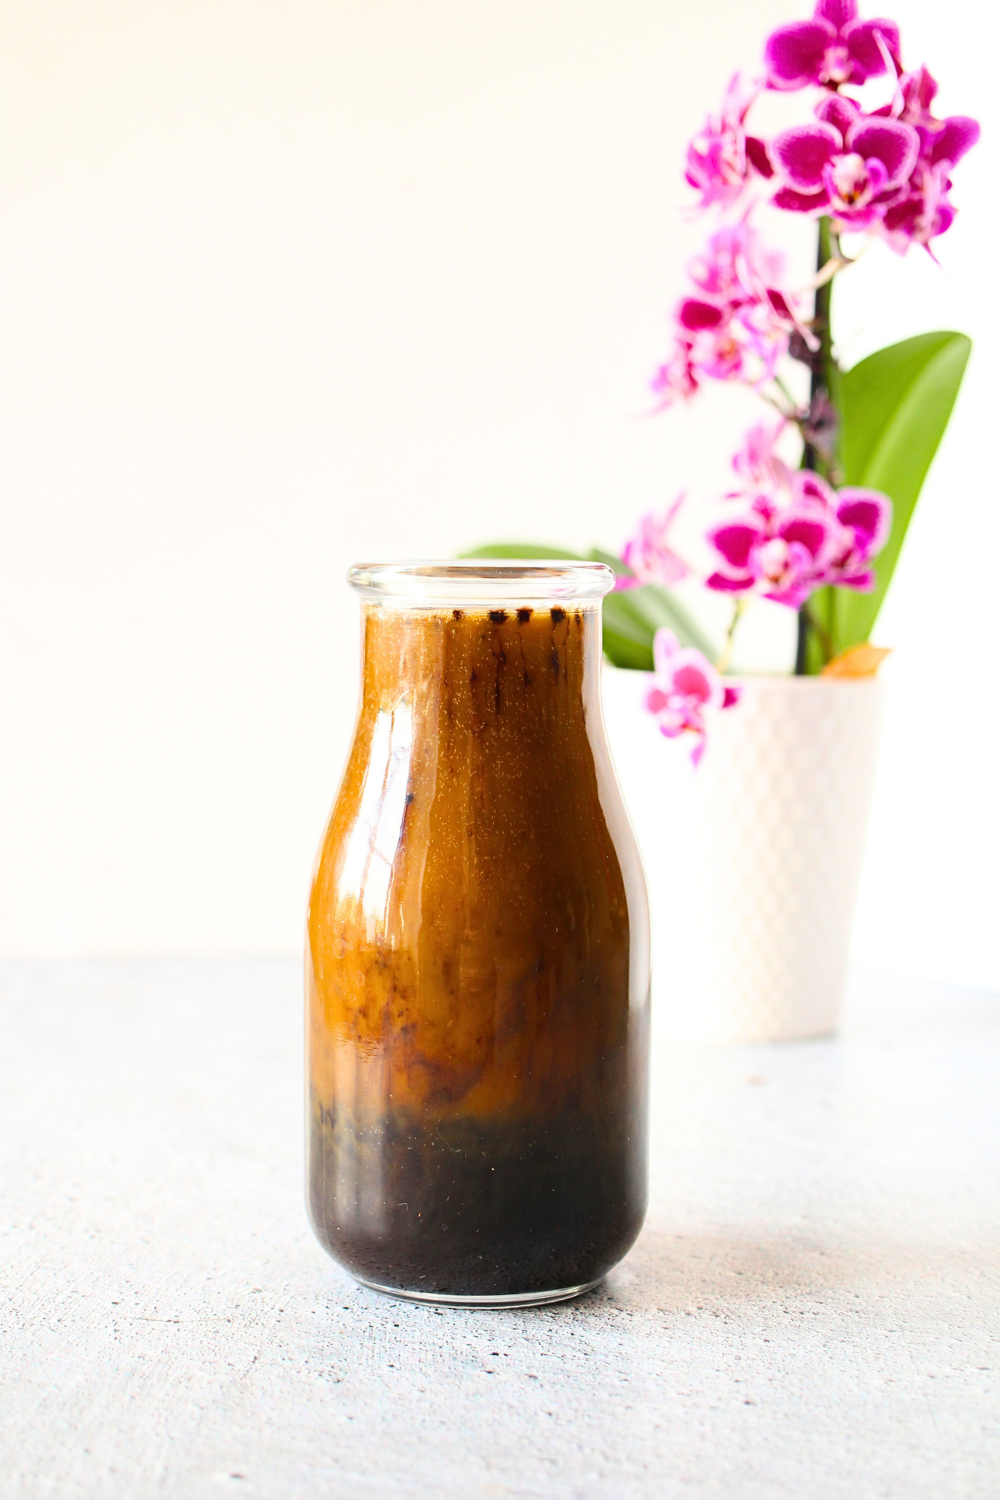
- Pour the glaze through a sieve into a jug to catch any tiny lumps -Again, hold the jug at an angle to prevent extra bubbles from forming.
8. Cover with cling film
- Allow the glaze to cool until it reaches 33–34°C (about 91–93°F)—this is the perfect pouring temperature - Too hot, and it will melt your cake; Too cold, and it won’t pour smoothly.
9. Prepare your setup
- Place a cup, upside-down, in the middle of a cake pan (I like to use a silicon mold cake pan)- This will elevate your cake so the glaze can drip beautifully down the sides.
10. Unmold your frozen mousse cake
For best results, your cake should be:
- completely frozen
- already smooth on the outside
- placed directly on top of the upside-down cup
11. Pour the mirror glaze
- Slowly pour the glaze over the cake, letting it drip down naturally.
- If using two colours, alternate pours in gentle patterns—lines, circles, or swoops.
- Do not touch the glaze once it’s poured. Just let the magic happen.
12. Let it set
- Allow the glaze to drip and settle for a few minutes.
- Once it stops dripping, run a knife along the base to remove excess “tails.”
13. Transfer to serving dish
- Use two offset spatulas to carefully lift the cake and place it onto your serving plate.
- Then refrigerate for 3–4 hours to allow the cake to thaw and the glaze to fully set.
- Take the leftover glaze that has dribbled off the cake and carefully pour it into a container. Refrigerate until needed.

Tips for the Shiniest, Most Perfect Sugar-free Mirror Glaze
- Use allulose—nothing else - other sweeteners crystallize or turn cloudy. Allulose stays shiny.
- Blend carefully -Keep the blender fully submerged to avoid aerating the glaze.
- Do not rush the temperature- if the glaze is too hot, it melts the cake. If too cold, it becomes thick and dull. 33–34°C is the sweet spot.
- Freeze the cake completely - A warm cake will ruin the glaze instantly.
- Use cocoa you love - Black cocoa gives a dramatic, elegant finish. Regular cocoa gives warmth and classic chocolate flavour. Using both? A masterpiece.
Keto Cake Decorating
Keto mirror glaze recipes almost always make more than you need, and that’s actually by design.
Mirror glaze requires enough volume to pour smoothly and evenly over a cake in one continuous motion—if you try to make a tiny batch, you end up with streaks, bare spots, or a lumpy finish.
The good news is that the extra glaze stores beautifully.
Simply strain it, let it cool, and keep it in an airtight container in the refrigerator for up to a week, or freeze it for longer storage.
When you’re ready to reuse it, gently reheat it over low heat or in short microwave bursts, stir until silky smooth, and bring it back to pouring temperature—no waste, and instant bakery-level shine the next time you need it.
Easy Mirror Glaze Recipe Final Thoughts
If you’ve ever felt intimidated by the stunning mirror-glazed cakes that take over Pinterest and Instagram, I promise you—those days are over. This Keto Chocolate Mirror Glaze is incredibly simple, endlessly customizable, and foolproof even for beginners (like me). With just a few ingredients and the right technique, you can turn any keto mousse cake, cheesecake, or layered dessert into a show-stopping centerpiece.
It’s glossy, rich, sugar-free, gluten-free, and unbelievably fun to make.
So if you’re looking to dip your toes into the world of keto cake decorating, start here—with a glaze that looks like magic but takes almost no effort.
And be warned: once you make your first glossy, dramatic, chocolate-swirled keto mirror glaze… You might never want to frost a cake the old-fashioned way again.
More Keto Cake Decorating Ideas


More Easy Keto Dessert Recipes


How to Make Keto Chocolate Mirror Glaze - Sugar-free
This Keto Chocolate Mirror Glaze is the ultimate way to turn even the most basic keto dessert into something that looks like it came straight out of a pastry chef’s kitchen. The glossy shine, the deep chocolate colour, the way it drips down the side of a mousse cake—every part of it screams professional, yet the truth is wonderfully simple: it’s shockingly easy. Even if you’ve never decorated a cake before (trust me, I’ve been there), this glaze will make you feel like you’ve unlocked a secret baking superpower.
- Total Time: 0 hours
- Yield: 1 ¼ cups 1x
Ingredients
- 5 gelatin sheets or 8.5 grams gelatin powder
- 50 grams water (to bloom the gelatin)
- 250 ml heavy cream
- ½ cup allulose
- 45 grams cocoa powder, unsweetened
Instructions
- Place the cold water in a small bowl and sprinkle gelatin over water. Let sit for 5 minutes.
- Sift the cocoa powder over a bowl.
- In a small microwave dish, stir together the allulose sweetener and heavy cream. Microwave on high for about 30 seconds or until it just begins to bubble. Stir in the gelatin until it is fully dissolved.
- Hold the bowl at an angle and pour the hot liquid down the edge of the bowl to avoid creating air bubbles. With a rubber spatula gently stir the cocoa powder and liquid together until more cohesive. Then with an emersion blender, blend the glaze together until smooth. Pour the mirror glaze into a jug, though a sieve, holding the jug at an angle, to again avoid creating extra bubbles.
- Place a piece of cling film over the glaze, so it touches the surface of the glaze and allows the glaze to cool until it reaches a temperature between 33-34ºC (91-93 degrees F).
- Prepare a baking tray with a piece of cling film. Place a cup upside down, for the cake to stand on.
- Once the glaze has reached the wanted temperature, take the mousse cake out of the freezer and out of the mold and place it on the cup.
- Pour the mirror glaze over the cake and let it drip off. Once set, remove any mirror glaze droplets hanging off the cake with a knife and lift the cake of the cup using two offset spatulas under the cake and gently lift it over to your serving dish. Place it in the fridge to defrost for 3-4 hours.
Notes
- the nutrtional information is 980 calories, 92 g fat, 33 grams of carbs, 14 grams of fiber, 8 grams of sugar and 22 grams of protein for the entire batch of mirror glaze. The total amount that actually adheres to the cake is probably only ⅕th of the recipe so this is what I posted.
- Prep Time: 5 mintues
- Cook Time: 0 minutes
- Category: Desserts, Snack
- Method: No-Bake
- Cuisine: American, Fall, Holidays, Winter
- Diet: Gluten Free
Nutrition
- Serving Size: ⅕ of recipe (which should cover an entire cake)
- Calories: 188
- Sugar: 2
- Fat: 16
- Carbohydrates: 7
- Fiber: 3
- Protein: 4.4

Cat says
I do but I have not had a chance to post it yet!
Dina says
Do you have a keto cake recipe on which to use this?